For this web application we are using Linux, Apache, MySQL, and PHP (LAMP stack) as the web server to install osTicket with another instance serving as the backend MySQL server. I used the following guides for installing osTicket and MySQL once the instances were provisioned and SSH’d to the instance. Only use the guides as a reference as some information can be outdated such as PHP version. If there is any conflicting public IP address for the web application instance in the screen shots, this is due to AWS releasing an instance’s public IP address if it is stopped and started again.
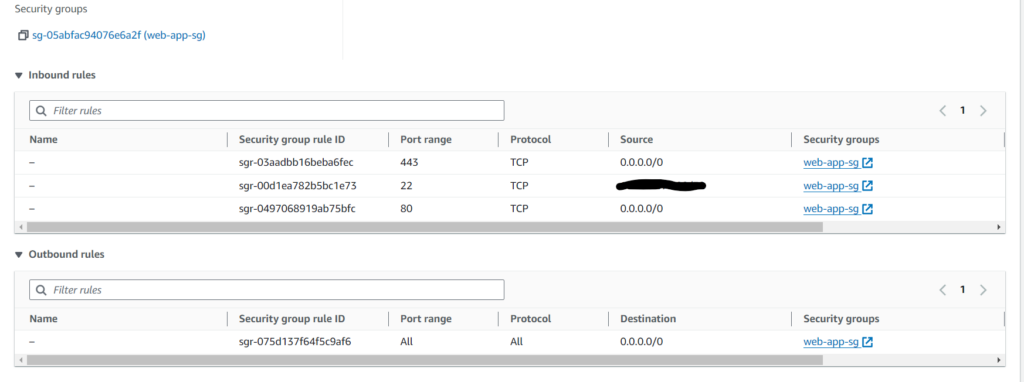
For our web server instance, our AMI we will be using Ubuntu Server 22.04 and our instance type will be t2.medium. In network settings, we will use the default VPC and create a new security group. The security group will have HTTP and HTTPS ports open from anywhere as well as SSH from my IP address. We can leave the rest of the settings at their default.

Once the instance is done provisioning, connect using an SSH client or alternatively use EC2 instance connect. Install Apache, MySQL, and PHP. I followed this guide provided by computing for geeks, https://computingforgeeks.com/how-to-install-osticket-on-ubuntu-linux/. The MySQL security script does not need to be run.


Once we have our LAMP stack for the web application instance installed, we can download and install osTicket. Follow the same guide until we reach the osTicket landing page. We cannot continue with the installation and can continue to provision the MySQL instance, connect it to our web application instance to finish the osTicket installer.

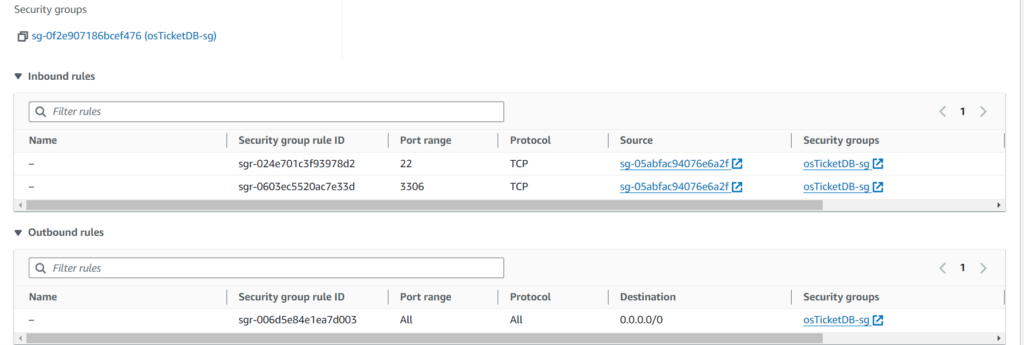
For the MySQL instance we are using the same AMI, and instance type. Under network settings I will choose the same default VPC and will disable auto-assign public IP. This is because we don’t want the public internet reaching our database. Create a new security group that allows the server to communicate with only the web application using port 3306 and port 22.

Since auto-assign public IP is turned off and we can’t reach the internet to install updates and software, we will use an elastic IP address to have the instance connect to the internet or alternatively use a NAT gateway. Use the web application instance as a bastion host and SSH into the database instance.

Using this guide as a reference, https://computingforgeeks.com/how-to-install-mysql-8-on-ubuntu/, proceed to install MySQL. After MySQL has been installed, proceed to disassociate the elastic IP address from the instance and create a user and database for osTicket.


Make sure the user will be able to access the database from the web application instance by putting that private IP address in place of @localhost. You may need to change some settings in the MySQL configuration file where the MySQL server bind-address parameter is configured to listen on the private IP address of the database instance.

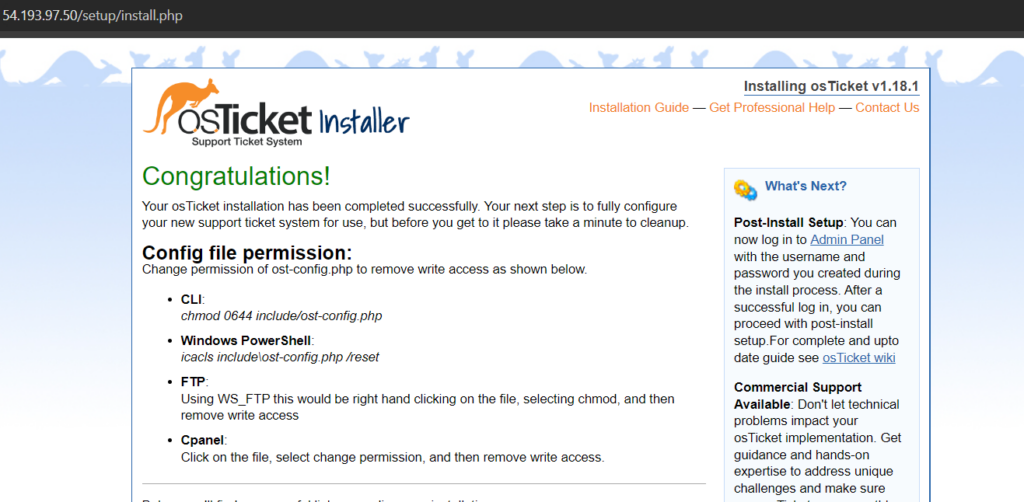
Now back in the osTicket installer, fill out the information for company and administrator. Under database settings, insert the database name, username, and password created. For MySQL Hostname, enter the IP address of the database instance.

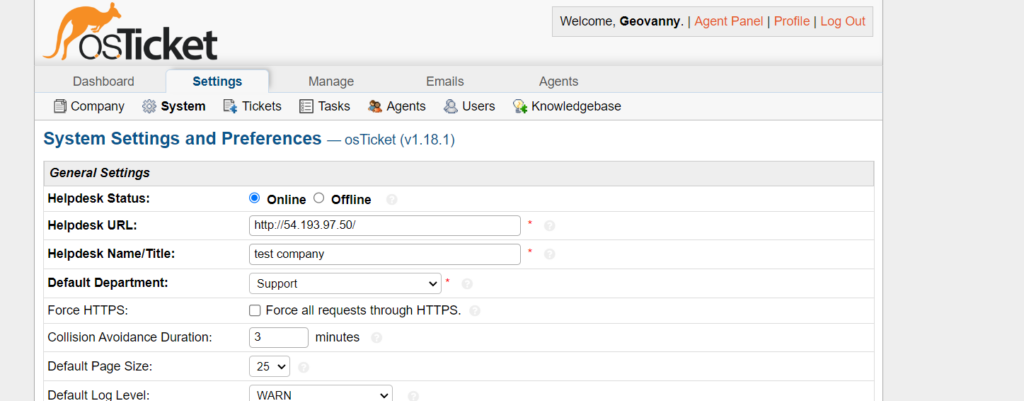
If done correctly, you will see the page below and can access the admin panel with the information used during the installation page as well.
Leave a Reply