For this project we will be launching osTicket in an automatic way without having to SSH into the EC2 instance. This version of the project will be slightly different as the MySQL server will be hosted on an Amazon Relational Database Service (RDS) instance, which is a managed relational database service offered by Amazon, instead of another EC2 instance. Then we will complete the osTicket installation again but use a script. This script will install all necessary packages, download the osTicket zip file, and prepare it for setup. The installation page will be reachable by using its IP address.
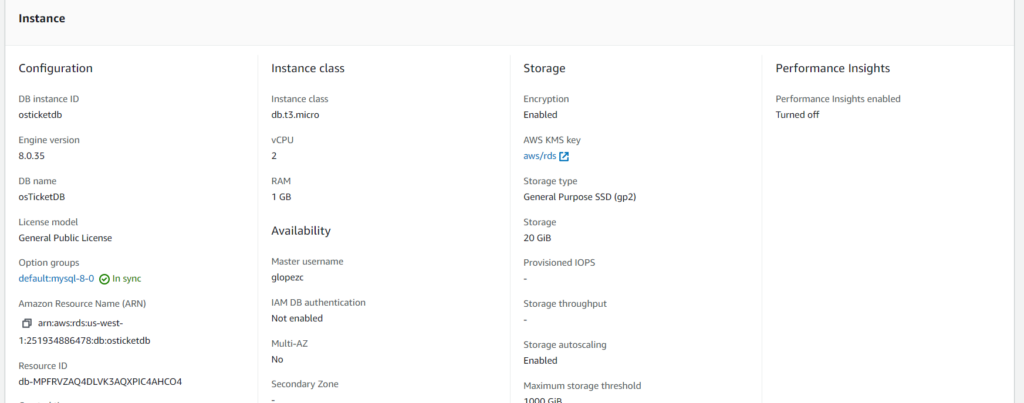
In the RDS console, create a database and click the Standard create method. For the engine I will be using MySQL version 8.0.35 and will use the free tier template. Under the settings give your database instance a name and create an admin user and password. Instance configuration and Storage will be left at default. Availability and durability is set to “Do not create a standby instance” by default because of the free tier template. For connectivity, don’t connect to an EC2 instance, keep at default VPC and subnet group. Don’t allow public access and create a new VPC security group. Under additional configuration, give a name for the initial database name.

Next, we configure the EC2 instance using Ubuntu 22.04 with a t.2 medium instance type. Give it a keypair and under network settings keep everything at default. For the security group I used the existing security group from the last post which allows SSH from my IP and HTTP from anywhere. Storage will be kept at default settings.

Under advanced settings, in the user data section is where our bash script will go. Notice that sudo command is not used as user data scripts run as the root user.
#!/bin/bash
apt update -y &&  apt upgrade -y
apt install mariadb-server -y
apt install apache2 -y
systemctl start apache2
systemctl enable apache2
apt install lsb-release ca-certificates apt-transport-https software-properties-common -y
add-apt-repository ppa:ondrej/php -y
apt install php8.2 php8.2-common -y
apt install php8.2-{imap,apcu,intl,cgi,mbstring,gd,mysql,bcmath,xml} -y
apt install curl wget unzip -y
curl -s https://api.github.com/repos/osTicket/osTicket/releases/latest|grep browser_download_url| cut -d '"' -f 4 | wget -i -
unzip osTicket-v*.zip -d osTicket
mv osTicket /var/www/
cd /var/www/osTicket/upload/include
cp ost-sampleconfig.php ost-config.php
chown -R www-data:www-data /var/www/
a2dissite 000-default.conf
rm /var/www/html/index.html
systemctl restart apache2
echo '<VirtualHost *:80>
     ServerAdmin admin@example.com
     DocumentRoot /var/www/osTicket/upload
     ServerName osticket.example.com
     ServerAlias www.osticket.example.com
     <Directory /var/www/osTicket/>
          Options FollowSymlinks
          AllowOverride All
          Require all granted
     </Directory>

     ErrorLog ${APACHE_LOG_DIR}/osticket_error.log
     CustomLog ${APACHE_LOG_DIR}/osticket_access.log combined
</VirtualHost>' > /etc/apache2/sites-available/osticket.conf
a2ensite osticket.conf
systemctl restart apache2
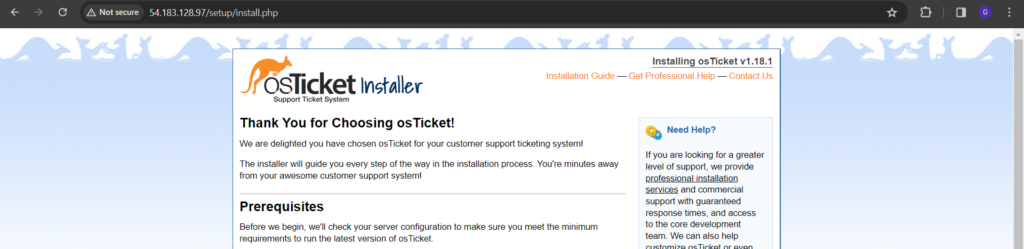
Launch the instance and after about five minutes, the osTicket installation page will be reachable by the instance public IP address.
Fill out the information requested for system settings and admin user. For database settings, under MySQL Hostname enter the RDS endpoint located in the console under the connectivity tab. Enter the database name, master username, and password which are all located in the configuration tab of RDS.

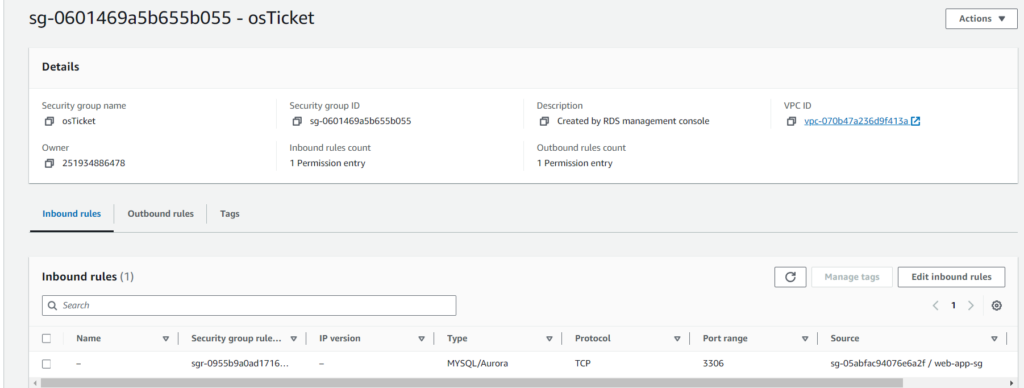
Before clicking install, we must add connectivity between the RDS instance and EC2 instance. We do this by modifying the VPC security group of the database by allowing port 3306 only from the EC2 instance security group.
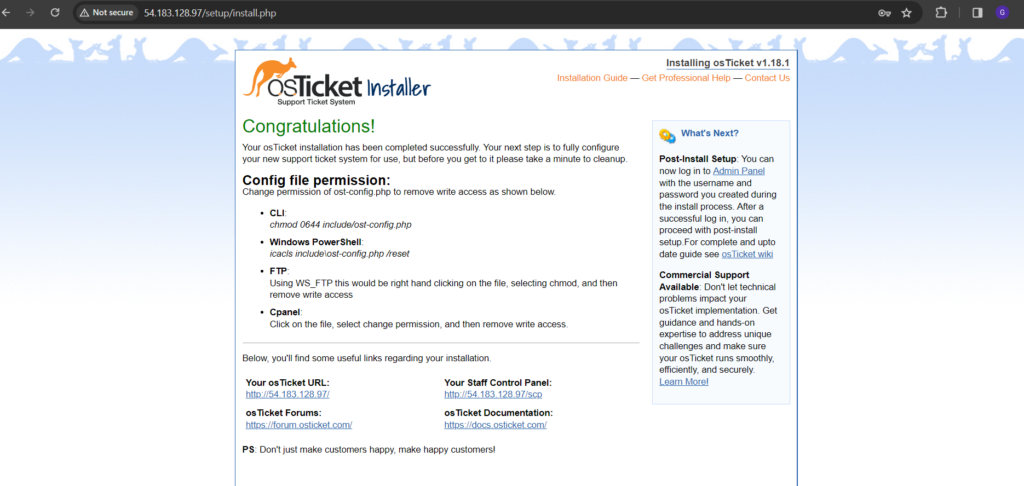
Now after clicking install, the installation should be completed successfully.
Leave a Reply